Thursday, April 30, 2015

Microscale Millenium Falcon

Time
 for another
 microscale creation!
 This one is my favorite, a mini 
Millenium Falcon!! (If you don't know 
what the Millenium Falcon is, we can't be friends.) It's 
Han-Solo's ship from Star Wars by the way. You should know that.


Isn't it adorable?!
 Microscale Millenium Falcon
  • 2 light gray 1x1 slopes
  • 1 light gray 1x1 plate with ring
  • 1 light gray small radar dish
  • 1 light gray 1x1 round plate
  • 1 light gray 1x1 plate with horizontal clip
  • 1 transparent 1x1 plate
  • 1 dark gray minifigure hand
 First, place the 1x1 slopes on the plate with ring.
 Now add the plate with clip.
 Then clip the hand onto the clip.
 Now flip it over and add the transparent plate. Make sure to add it at an angle.
 Now top it off with the radar dish.
 The next part is a little tricky. Take the 1x1 round plate...
 Now turn it sideways and slide it in under the radar dish. As long as you turned the transparent plate the right way, it will stay wedged into place.
 Finished! Now you are read to blast off to a galaxy far, far away.

Wednesday, April 29, 2015

Microscale Blimp

I've been building lots of microscale things I found on Pinterest. I'll be sharing them all with you. First, I'll show you how to build the blimp. It only uses nine pieces! Also, it's an example of the SNOT building technique (Studs Not On Top) It's built sideways.
 Microscale Blimp
  • 2x2 dome
  • 1x1 round plate
  • 2 faucets
  • 2x2 round plate
  • Technic half pin
  • 1x1 brick with 4 side studs
  • Mini rocket booster
  • R2-D2 body (It might have a real name, but it's the piece used as a body for LEGO R2-D2, so that's what I'm calling it.)
 First, attach the round plate to the R2 body, and the dome to the plate.
 Stick the Technic half pin in one of the holes. Attach the mini rocket booster to the other side of the R2 body.
 Now stick one of the side studs on the brick with side studs into the other hole on the R2 body. Then, put a 1x1 round plate on the top of the brick.
  Now stick the faucets in the brick with side studs.
 And you are finished!
Stay tuned for more awesome microscale creations!
What is microscale, you might ask? It's when you build something with as much detail as you can add in the smallest amount of pieces. Most of the creations I'll be showing you use less than 15 pieces!

Tuesday, April 28, 2015

Square Racer

  This car is named because from the top, it looks like a square.
The front has slanted bricks and clear 1x2 slants.
 An unusual duo drives this car, a medieval knight and an alien.
The doors are 1x1 bricks with horizontal clips, with handled 1x2 plates for the door itself.
Two 1x1 transparent red plates are the tail lights.
 Extra style is added with some black and yellow tiles.

Monday, April 27, 2015

"How Does Your Garden Grow?"


 In honor of spring , today's creation is a garden. It features a pond, trees and flowers. Our minifigure Reagen is watering the plants with her watering can.

 The pond has a small waterfall. The white pieces are the foam.
 Here is a closer view of the garden's foliage. We have the cone shaped tree and flowers from our Dad's old sets, but those are pretty much the only plant pieces we own. The taller tree is made of several pieces.
 This tree has some brown plates and cylinder bricks for it's trunk. Some lime green plates and a circular green plate form the leaves.
 If you don't have plant pieces, find green and brown pieces to build your own tree!
Top view
 If you want to know how the build Reagen's watering can, here you go:
 Watering Can
  • 2 faucet pieces
  • 1x1 plate with horizontal clip
  • 1x2 brick
All the pieces should be the same color. White is pictured here.
  Clip one faucet to the clip plate. The other, place on top of the brick.
 Now place the clip plate on the brick as shown. Ta-da!

Time to water the garden!
If you build your own garden, try expanding it. make a little stream with blue plates and build a bridge over it. Add a bench, or a pathway. The point of LEGO pieces is to be creative with them!

Thursday, April 16, 2015

LEGO Speeder

A friend of my brothers recently gave his collection of LEGO manuals to us. This creation is inspired by one of them, though I assure you, much improved upon.
Our minifigure Zach is our pilot today. The craft has been built with red and white pieces, as those are Zach's favorite colors.

The bottom is covered in sliding plates so it will glide.
 Close up of Zach in the pilot seat.
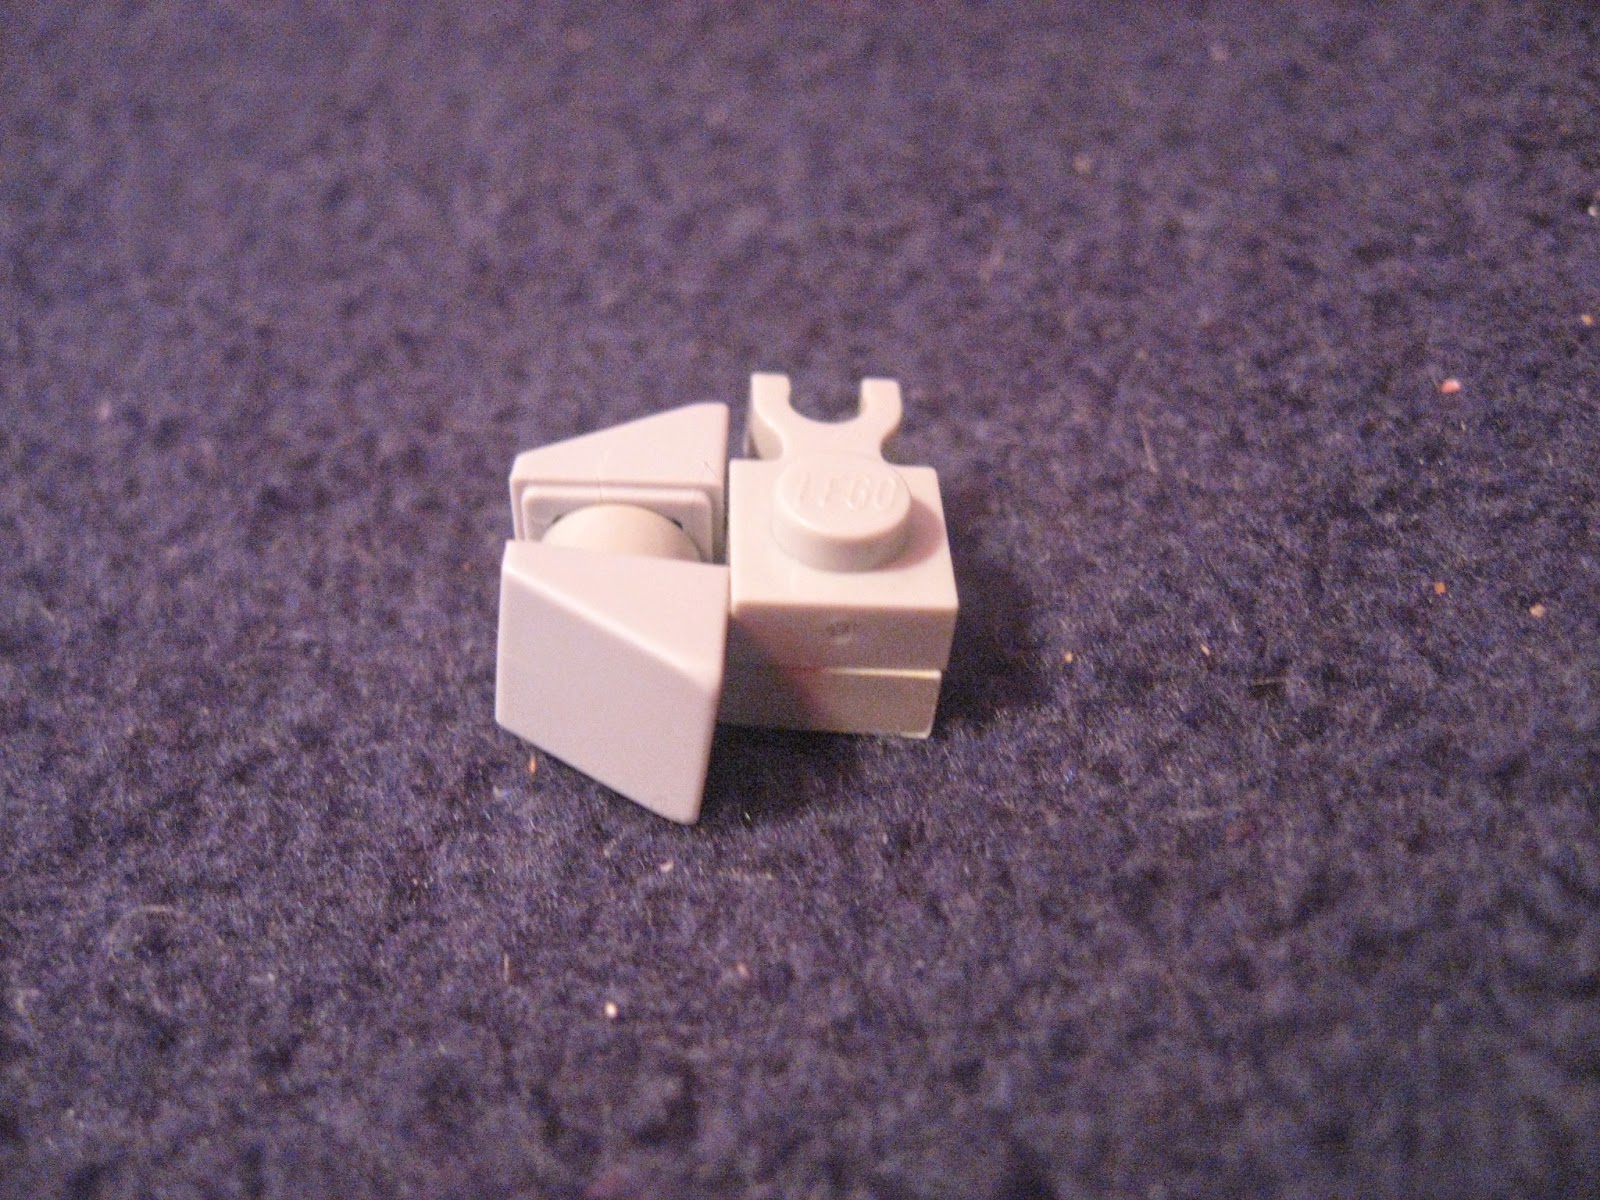
 One of the best features of this ship is the built in catapult.


Just remove the cover to launch. Also, you could remove half of the cover to launch only one of the projectiles.
 Flick your finger upwards on the bottom of it to launch.
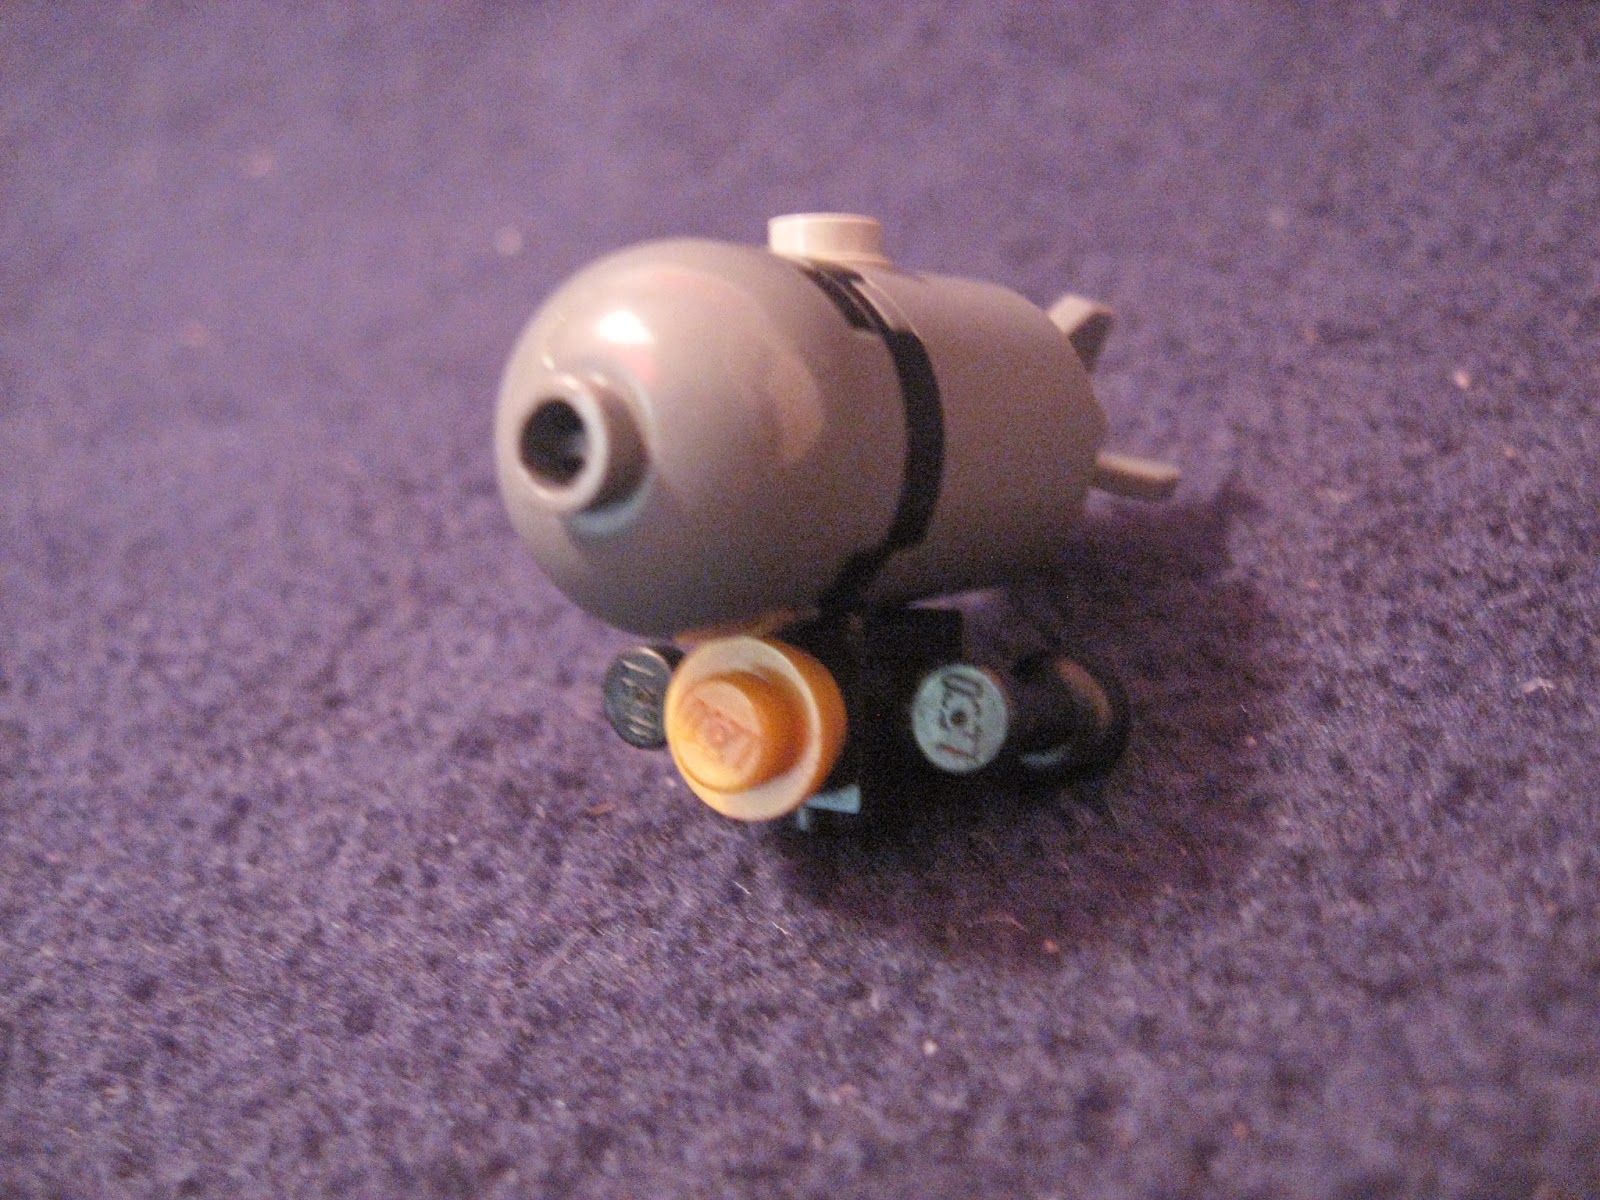
 It took several attempts to get these two action shots of the catapult. I hope you appreciate the difficulty I went through so you can see how the catapult works.
 Next feature: The warning lights. When they are flashing, you are about to be in danger. If they remain on, you are in danger.
The lights on the top.

Lights on the back.

The lights on the front.
 The back/front lights work like regular car lights for turn signals, headlights, etc.

More pictures of the ship.


Close up of the cockpit.
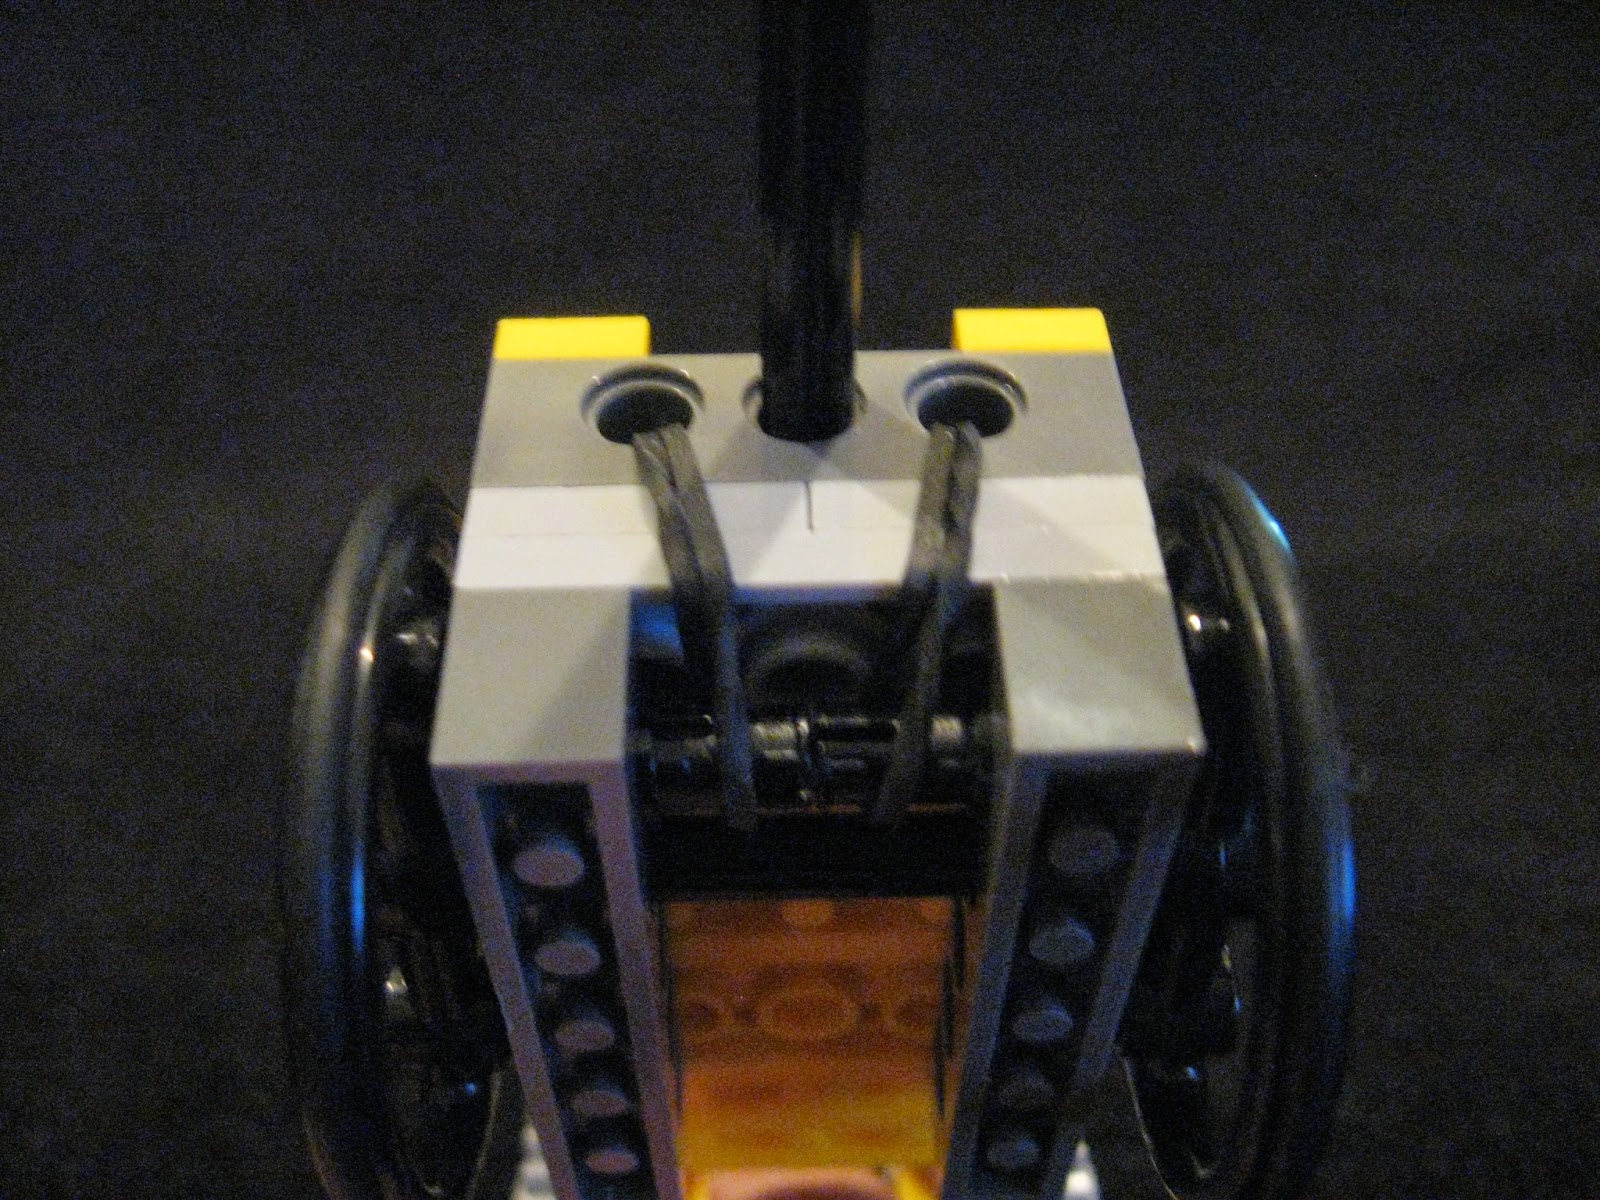
 He attached the ship together with this idea from the instruction booklet. Hidden technic bricks and connectors. For extra stability, one of the sliding plates on the side section attaches to the center to hold it firmly.
It's always a good idea to save your old LEGO manuals. When we get new sets, they usually only stay put together for a few days before being taken apart and the pieces used for other things. Though you might not build the sets again, you might get some ideas from the manuals later. Or give them to someone else so they can use them!

Tuesday, April 7, 2015

Wall Rocket Launcher

We were staying at my grandparents and my brother found a LEGO set that one of my cousins had left there. (Because if there is LEGO, he will find it.) It is a LEGO Technic set. The instruction booklet had a bunch of cool moving contraptions like a blender or an extending claw! The gadget I'm about to show you is called the "Wall Rocket Launcher." You are about to find out why.
This is a souped up version, designed for a rider.
 Here are the basic components if you wish to make your own. Plus, it's cool to see how this thing works.
First off, you'll need several LEGO Technic pieces. If you don't have any, you really can't make this. In addition to the LEGO pieces, you'll need two thin rubber bands.
Here's a view of it with all the roof pieces taken off. Look at the pole with the red thing on the end sticking out. You push that against a wall, release it and the car shoots forward.

 Bottom view.
 The rubber band it pulled through the thing on the end next to the red piece (Called an axle connector). The second rubber band is wrapped around the pole as many times as you can wrap it. I'm not sure why, to act as some kind of buffer maybe. On the right are two 1x4 bricks with holes (Or called Technic bricks). The pole goes through the hole in the middle and the rubber band is threaded throughout the hole on either side of the pole.
 The rubber band come out of the holes...
 And wraps around to the bottom. Next to the axle holding the wheels are two technic connectors. The rubber band is looped around those.
 To work it, push the pole up against the wall.
 Push it as far back as it will go...
 Then release quickly. It will shoot off.
Technic pieces are great for moving things. What cool contraptions can you build with them?