Saturday, February 28, 2015

LEGO Truck

This truck was built my my brother. It was partially inspired by a few different trucks in his LEGO books. I figured it would provide some good car building inspiration.
 The rear view mirrors are a 1x2 plate with bar stacked on a clear 1x2 plate. A horizontal clip built into the roof holds them on.
 On the back is a hinge piece to hold on a trailer.
Trunk with a lid for storage on trips.

The axle on the bottom adds detail and stability.
 Close up of the front.
3 1x2 grilles make the front. The headlights are 2 1x1 transparent yellow plates and clear 1x1 slopes.
Hope that gave you some good ideas on building your own car/truck/vehicle.A few valuable pieces for car building are a 4x4 car roof, which is the hood on this truck. Wheels of course are needed, but for extra style, add some mud guard pieces over the wheels. Search your collection for pieces like steering wheels, car doors, windows and other parts you might could use and build your own unique car. Build it however you want, big or small, green, pink, blue, multicolored, striped, with whatever pieces you have. The point of LEGO pieces is to be creative with them, so go out there and build something!

Friday, February 27, 2015

Baby Dragons!

After seeing the huge dragon on the cover of his LEGO book, my brother decided to build his own dragon. The large one he built came apart a while ago, but we have these baby dragons for you to enjoy!
This one is a little (Okay, a lot) more awesome.

Before making it, know that you will need a lot of clip pieces.
Here is the body. It's made with two 2x2 slanted bricks, a bunch of clip pieces and 2x2 tiles.
The clips hold on the wings, legs, tail and neck.

Here are both of the dragons bodies. They are slightly different, the boy dragon has a red plate instead of tiles.
The wings are made of slanted plates. The girl dragons wings are a 3x6 slanted plate, The boys have a red 2x4 slanted plate on top. For larger dragons, you could use lots of layered plates. The hinge clip piece attaches the wings to the body.
Now the tail(s). A jumper plate holds horn pieces. Hinged pieces allow the tail to bend. A 1x1 slope piece adds a spike to the end of the tail.
The feet are 1x2 slanted bricks the a 1x1 plate with a clip on top. For the base of the feet, he used plates. For the girl, 2x2, the boy has slightly larger 2x3 plates.
All my pictures of the dragons neck have disappeared. You can check out the pictures of the finished dragons if you need to look at it. Basically, it's just two 1x2 plates with bars, a round 2x2 plate on top and a 2x2 plate on bottom and a horn piece in the center of the round plate. There is just one neck section on these dragons, but for a larger dragon you can add more to make the neck longer
Now the heads. You can build them however you wish. We used transparent cones for the eyes
As you can see here, the teeth are horn pieces held in with 1x1 horizontal clip pieces. The jaw is held on with a hinge piece. (We call them Wall-e eyes because our Dad once built a tiny LEGO model of Wall-e and used that piece as his eyes.) On the larger dragon, rather than a 1x2 tile, he used two 1x1 slopes for lower teeth.

Make sure to add clips on the back to attach it to the neck.
Now to attach it all together! This part pretty much explains itself. Just snap all the pieces together.
Head and neck attached to the body.

Now the legs and tail.

And finally, the wings.

Here is the finished dragon and all the different parts.

And now, you can enjoy some more pictures of the dragons.


There you go! You can build baby dragons, or size up the different parts to make a full sized dragon. Any colors can be used and you can personalize your dragon however you want.

Tuesday, February 24, 2015

Ping-Pong!

Today's build is a ping-pong table!
 I used a 1x1 round plate as the ball
Zach and Reagan battle it out while spectators Josh and Maggie look on.
 In this picture, you can see that I added some length onto the table so that the net would be in the middle. a 4x7 plate doesn't exist, only a 4x6 or 4x8, so I stuck a 4x1 on the end and attached it with a 2x2 plate.
 Now, these are unusual pieces. I'm not sure what to call them or what set they are from. We found them in the collection of LEGO pieces Dad had when he was a kid. We had no idea what they were, so we called them ping-pong paddles. Eventually, we built a ping-pong table to go with them.

Zach wins!
 Here, I show the table top, legs and net. The legs are just two 1x4 bricks stacked.
 And, one final picture.
I'm not sure how you could make ping-pong paddles without these weird pieces. If anyone has an idea for them, let me know. A ping-pong table would be great for a LEGO house's game room! Even if you don't have paddles.
~
We had been visiting a new church and one Sunday night in the youth room the kids were playing an unusual variation of ping-pong.
The ping-pong table had no net. There were around 11-12 players. You do a rotation, everyone gets a number and you go around taking turns hitting the ball. So when it's your turn, you run up and hit the ball to the person who comes after you.
 When someone hits the ball to you, it has to roll across the table and fall onto the floor. After it bounces off the floor, you hit it back onto the table and the person after you waits for it to fall on the floor and hits it back on to the table.
If you miss or mess up somehow, you lose a life. Everyone gets three lives.
Another confusing element is that you don't just hit it back and forth, it can go across the table any which way. All the players end up running around the table in circles trying to get to the ball.
You play until there is only one player left standing.
All in all, a very interesting multi-player variation on ping-pong.

Monday, February 23, 2015

LEGO Lamp

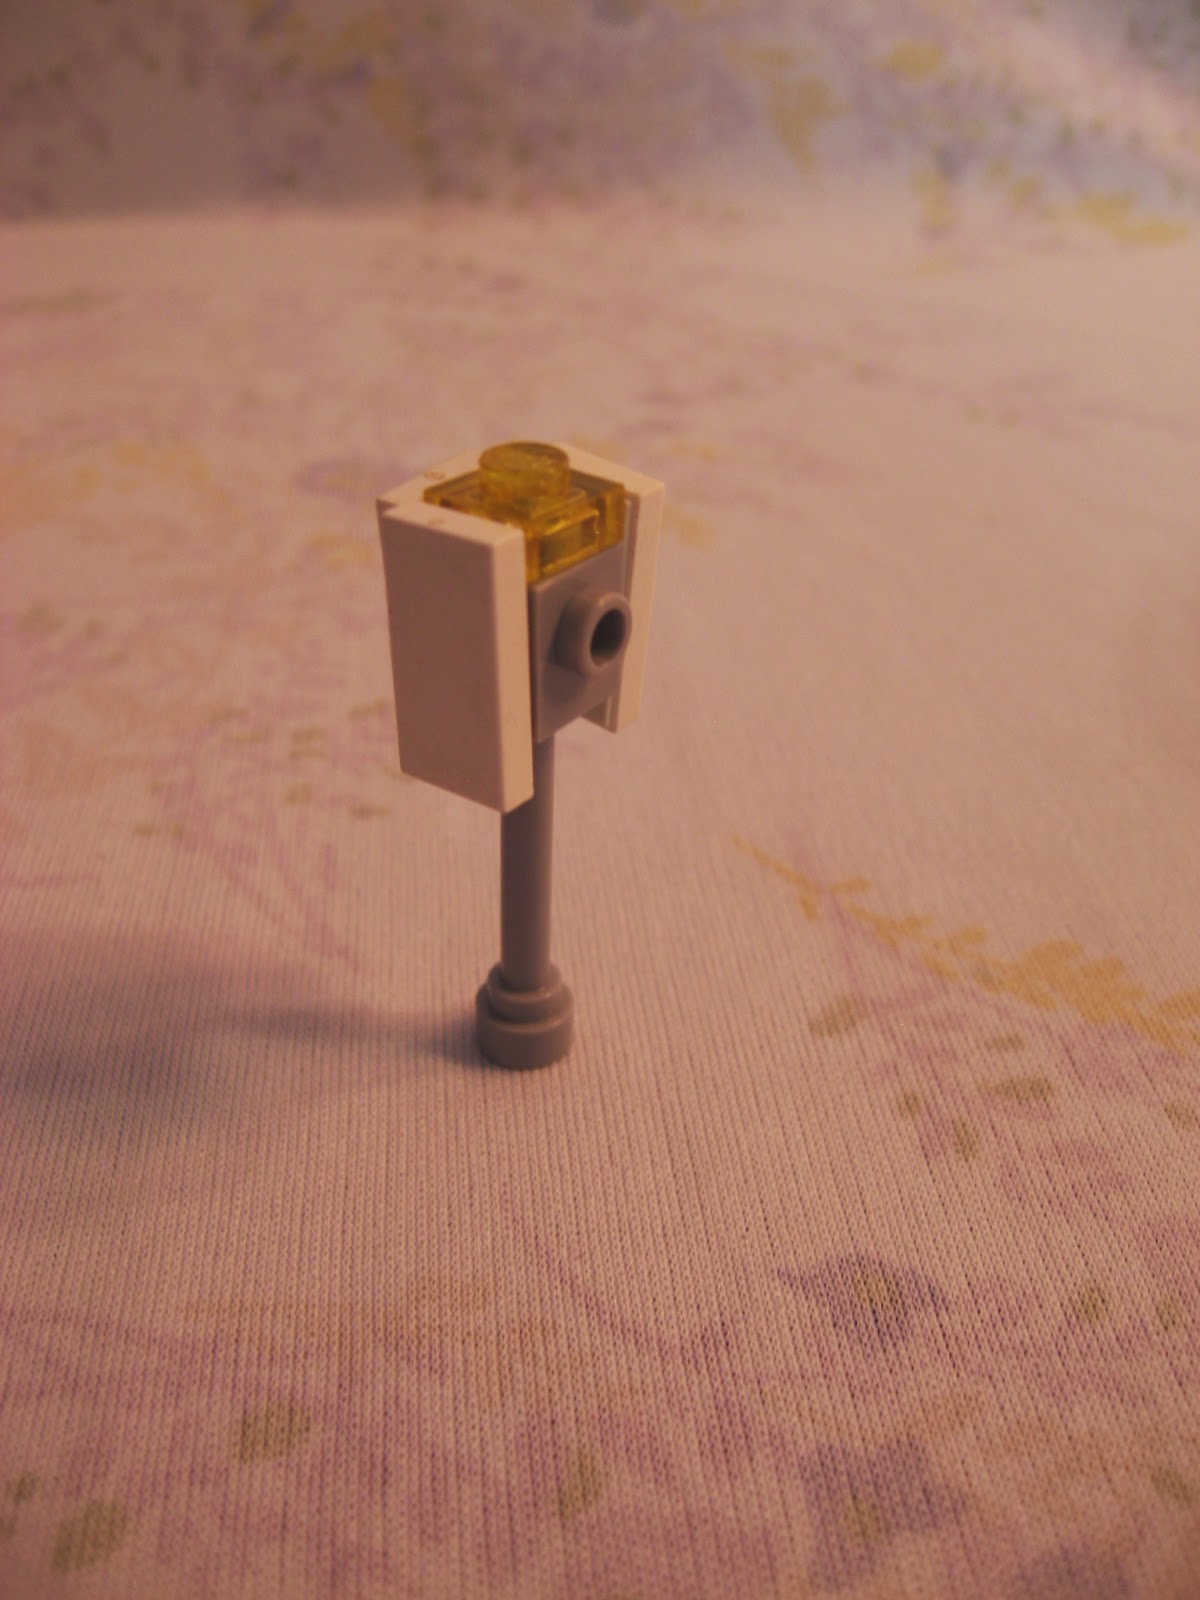
This lamp is great for lighting in a LEGO house. It's a simple build, and stylish too. This lamp is in the blue LEGO house I posted about before.
Floor Lamp
Pieces needed:
  • 1 1x1 transparent yellow plate
  • 1 Hinge rod (also called an antenna)
  • 4 1x2 tiles
  • 1x1 brick with four side studs
(Note: The hinge rod/antennas could also be called "Thingys." That was a reference to the LEGO Adventures of Clutch Powers, which can be found on Netflix)

 Poke the top of the hinge rod through the brick. Put the tile on top of the brick as shown.
 Now add the four tiles onto the side studs on the brick. as shown below.

There's your lamp.
Interesting story about this lamp: My little sister (18 months) loves this. She will pluck off all the tiles, then hand it back to me so I can put them back on. Again. And again. And again. At least it keeps her occupied, right?

Friday, February 20, 2015

Centaur

Yet another idea from the LEGO Play Book. They had a couple ideas for a Centaur. This was the simplest. Here it is:

LEGO Centaur
Here are the pieces you'll need:
  • 2x4 brick
  • 2 Mini figure pants
  • 1  Mini figure shirt
  • 1 Mini figure head
  • Optional accesories
Attach the legs onto the brick. This will be the body. You could use black pieces, brown pieces white pieces or another color. Whatever you want.
Now add the Mini figure parts. I used a shirt from a knight set.
Accessorize!
He is holding a crossbow here. Is he attacking someone? Or defending his home?

This Centaur has a walking stick. Could he be going on a journey?

Also, you could put some black 1x1 plates on the bottoms of the feet for hooves. Have fun playing with your Centaur!

Wednesday, February 18, 2015

LEGO House

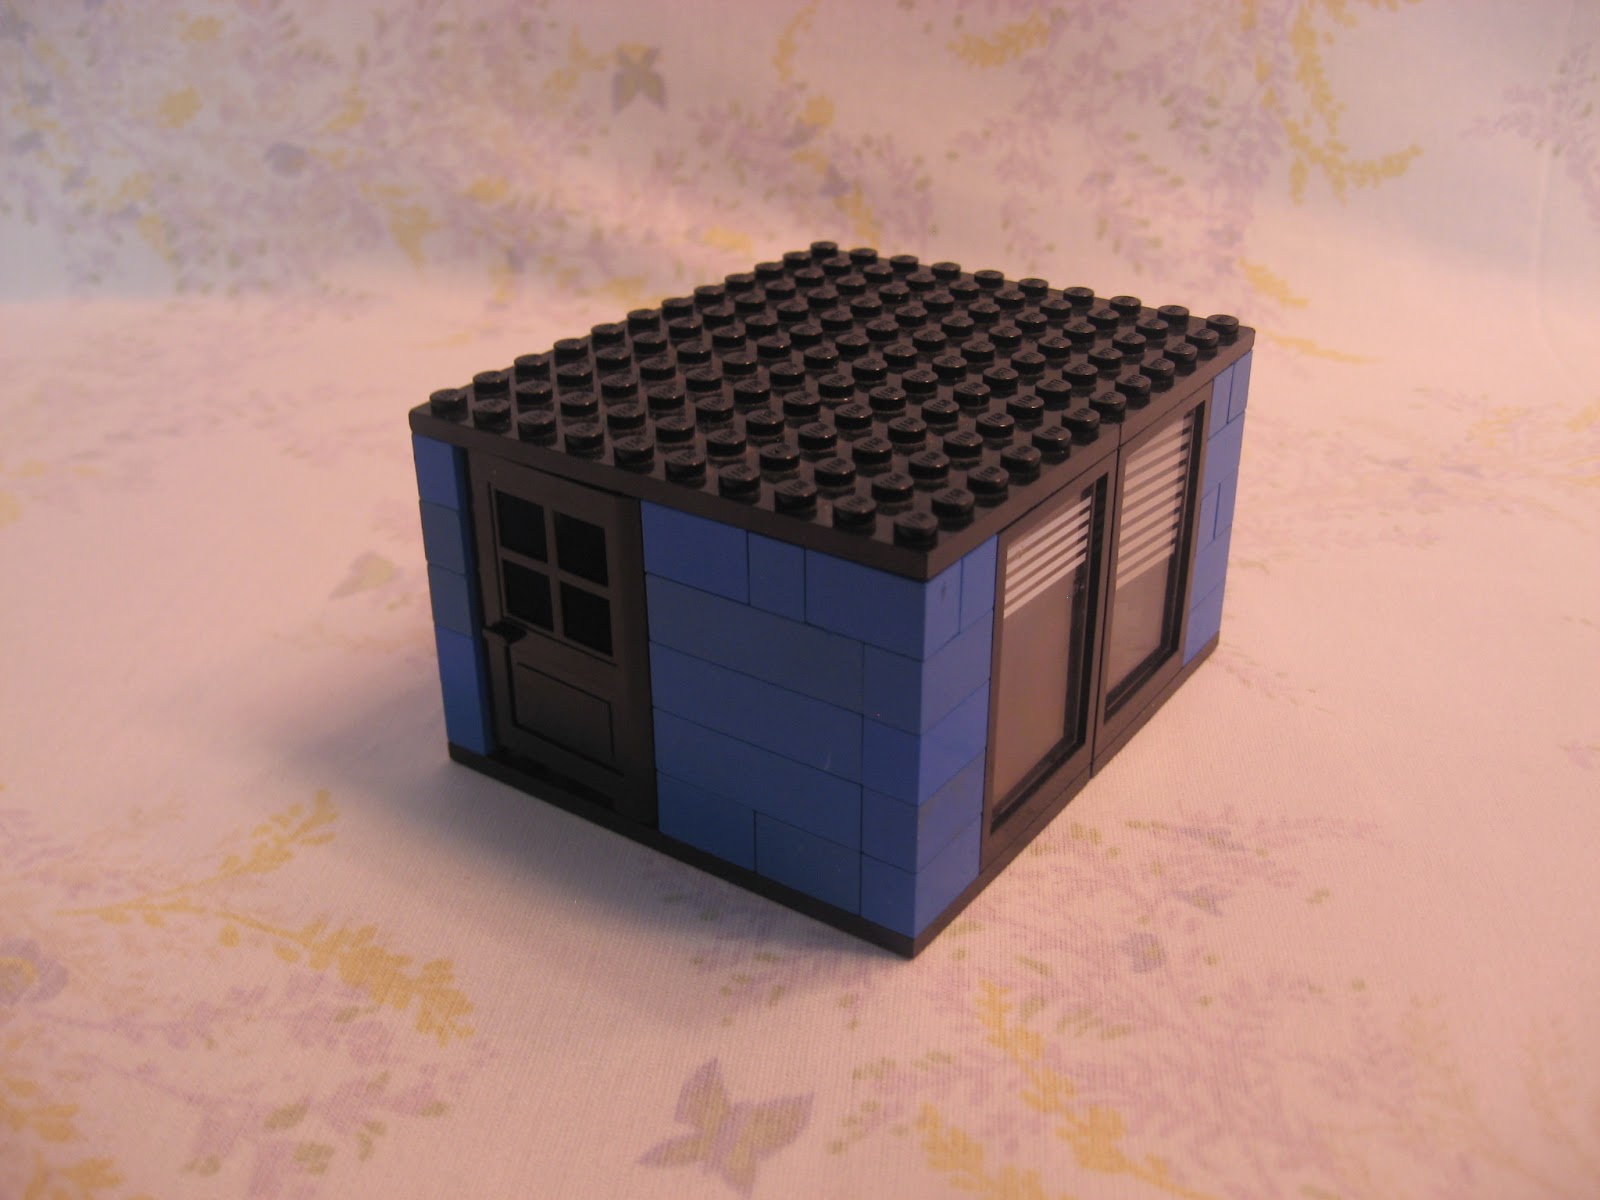
This is a basic LEGO house design that my brother and I came up with. It opens up to reveal the rooms.
The outside.

My mini figure next to it for scale.

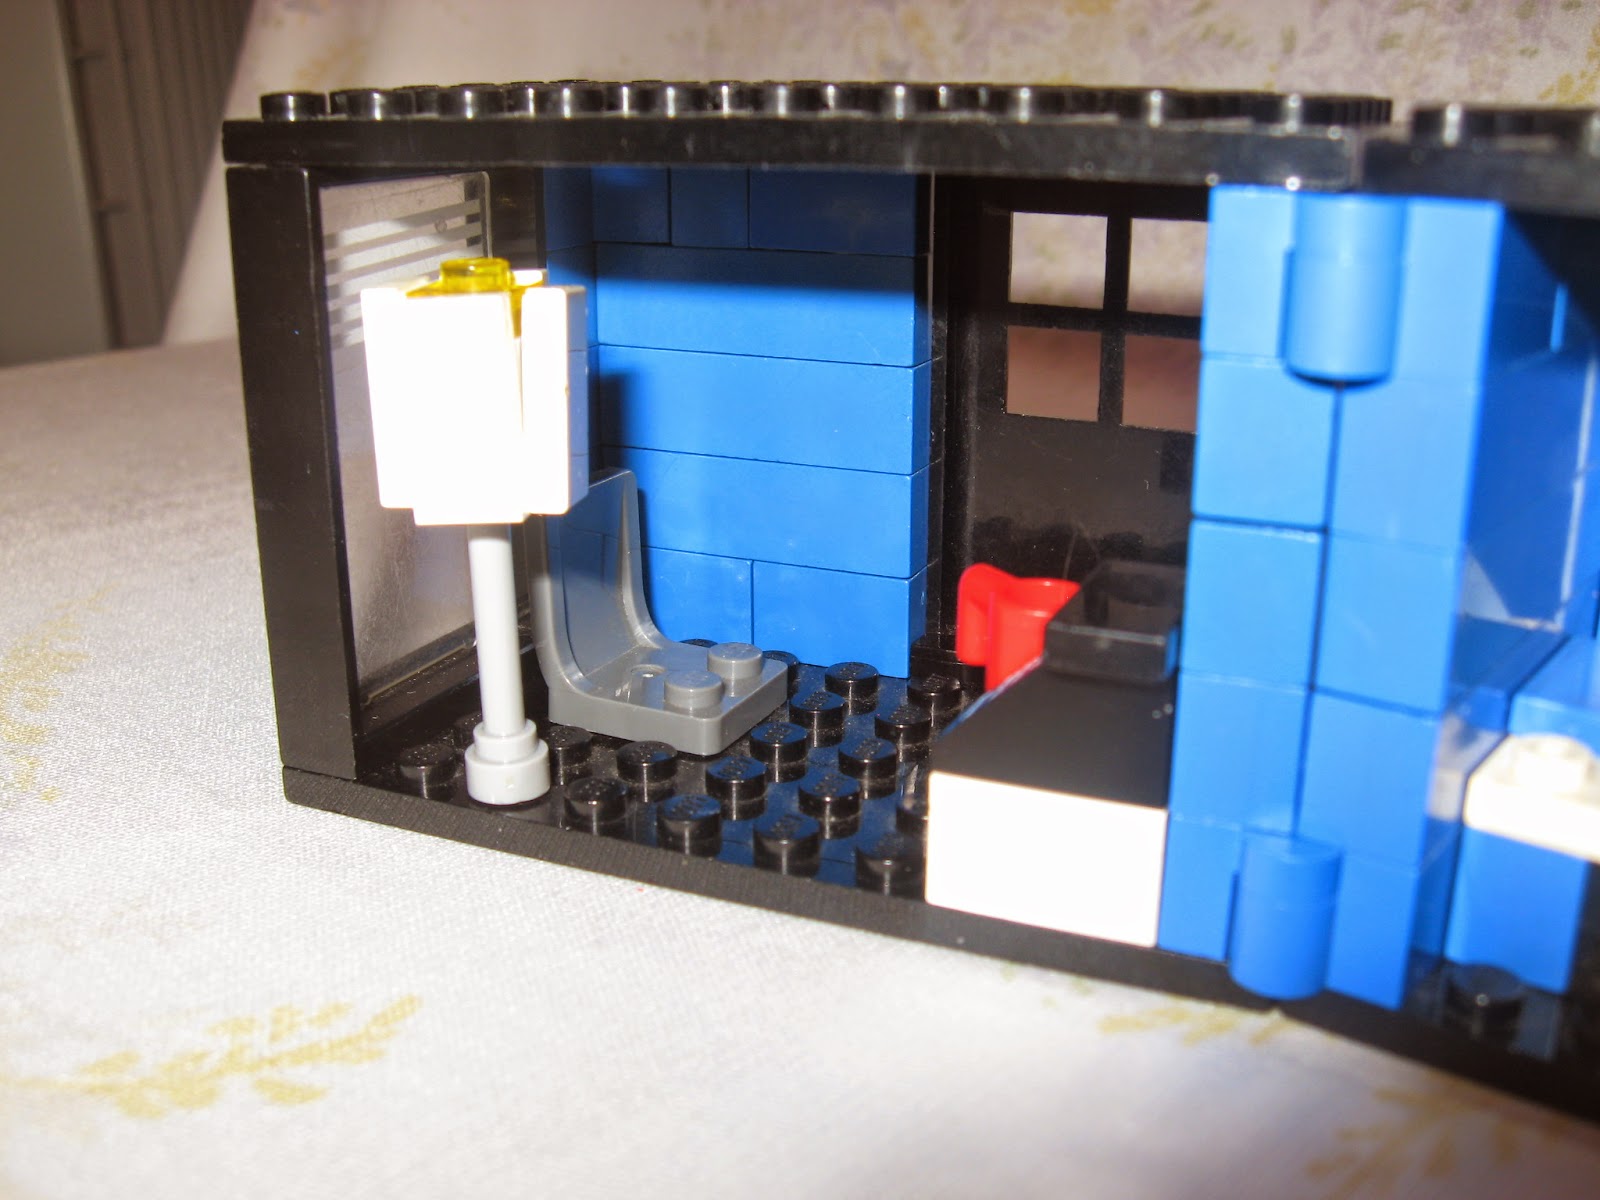
The inside:
 There are two rooms. Bedroom and living room.
 The living room features a chair, lamp and a table which holds a phone and mug.
 The bedroom has of course, a bed. There's a stand for the owner's Scout Ship. And, a poster with the space shuttle launch pad from one of my Dad's old Lego sets.
Action shot of the house closing.
 These hinged blocks are what allow it to open. One at the top and bottom keep it from breaking in half.
The idea to build a house that opens was from a cottage that could split in half featured in my brother's LEGO Play Book.
 To build this, we used four 6x10 plates (Two for floor, two for ceiling) and two hinged pieces. (2 1x2 bricks that attach.) It's important to remember to make sure the hinged pieces are facing the right way so it will open properly. Exactly how you build it is up to you! Add as many windows and things as you'd like. You could build a slanted roof. I built a version of this that had four rooms rather than two. Experiment however you want, this is a versatile build.
We made all the bricks blue for ours. You could have a yellow house, a white house, a multi colored house or even use different shades of red to make it look like bricks. You could add a stripe of a different color, it's all up to you!
Now your mini figures have a place to live. Furnish it accordingly. I might post some furnishing tutorials and pictures soon if you need ideas.

Sunday, February 15, 2015

Piece of the Week: 1x1 Slope

Every Sunday, I'm going to post a piece of the week. I'll focus on a useful piece and show several ways it can be used. Or, I'll show a unique piece. This week, It will be the 1x1 Slope.

It can be used in countless ways
On a car.


This slope is being used on the end of a dragon's tail.

The head lights on this truck use slopes.

A slope makes the top of this milk carton.


And of course, on Scout ships!
A slope is used for the gumball machine.
 These next two pictures are from the LEGO Play Book
Giants teeth.

A banister.
There are countless ways to use this versatile piece, whether decorative or functional. What other ways can you think of?