Friday, May 29, 2015

Beach House

Inspired by a page in his LEGO Play Book, my brother decided to make a beach house.
 The fence railing here is made of four white 1x2 angled bricks. The top two have 2 studs on top and 1 on bottom and the bottom two have 1 on top 2 on bottom.
 The base is made of lots of tan tiles and plates. Building different layers and types of pieces gives a textured look and is great for building bases.
 Here's a side view. The beach house is held up on stone pillars (light gray 2x2 round bricks). Real beach houses have this so the house doesn't flood their beach front property.
 I poked the camera through the door to get some interior shots.
We have a chair, bed, wall decoration and a table holding a tablet and two goblets. Next to the table is a barrel for a trash can.
 There's a metal detector by the bed for searching for lost treasure in the sand.
 On the wall you can see a surfboard.
 This is how the wall decor is attached.

 The surfer is ready to hit the waves!
 Here's the page in the LEGO Play book about the beach house.

Thursday, May 28, 2015

Two Things...

First off, I've reached 500 page views! Woot-woot!

Also, the poll for favorite mixed up mini figure only had one vote. Mine. I've extended until the 30th, this is your last chance to vote!
Here is the link to the post with the mixed up minifigures: link
Choose a favorite, then vote using the poll on the right.
(The link will open in a new window)

Friday, May 22, 2015

Thomas Edison once said, "To invent, you need a good imagination and a pile of junk."
Imagination, check.
Pile of junk...:
Check.
Necessity is the mother of invention. After hurting my hands digging through a box of LEGO pieces, I cobbled together this. A scoop to dig through the LEGO Box (Or as we call it, the Abyss)
 Just a 6x12 plate, 2x6 plate, 4x4 plate and that weird piece on the left.
 Another danger of digging through a box of LEGO parts is this:
Getting pieces stuck on your hands.
I saw on Pinterest an idea for a LEGO storage cabinet with lots of tiny drawers. Now I'm dreaming of being able to just get the piece I need out of neatly sorted and labeled drawers rather than digging for hours through the "Abyss" while leaning on scattered LEGO pieces and getting them embedded in my knees. And I thought just stepping on them was bad. I can dream, right?
Another issue for LEGO Builders is pieces getting stuck together. After a long day building with LEGO pieces, my fingernails get chipped up from prying apart plates. After years of  playing with LEGO pieces, I have discovered the most wonderful invention known to man. The brick seperator.


You can buy it here: http://shop.lego.com/en-US/Brick-Separator-630#summary-tabs
If the link doesn't work, copy and paste into the search box.
This simple tool works wonders. We had plates stuck in the bottom of a  LEGO police boat for years and this piece removed them in a split second.

Wednesday, May 20, 2015

Minifigure Madness!

It's time for Mini figure madness! I've scoured our LEGO collection pulling out mini figure parts and now, I'm gonna mix and match them!
 First off, we have a Luke Skywalker head, a knight shirt, cowboy pants and a sailor hat. Holding a yellow mug.

Also, notice that his skin colors on his head and hands are different.
 Next, we have Darth Vader's head, a clone trooper top, a space police alien pants, a Hoth explorer hat holding a metal detector.
It's like he has some strange skin disease. Maybe his treasure hunting will pay his medical bills?
 Third we have a clone trooper head with a yellow helmet. Doctor shirt and red pants, plus a chainsaw.
He looks like something from a horror movie. "Hospital Chainsaw Massacre" or something.
 A space police set head, a cowboy hat, a juggler uniform from a knights set and a mermaid tail holding a broom.
"Even cowboy-mermaids need to do their part cleaning up!"
 Space police alien head, yellow pants and a knight shirt. Also notice the different colored hands.
Why'd you need a hairbrush you don't have any hair?
 Yoda head, police shirt, blue pants holding a wrench.
It's Yoda the police-repairman!
And finally...
I've saved the best for last. Darth-maid? Mer-Vader?
It's a Darth Vader helmet and shirt, average head and a mermaid tail.
I need some mermaid related parody of a Darth Vader quote to go here, but I can't think of anything. Oh well.
I'll be setting up a poll on the blog so you can vote for your favorite of these mixed up mini-figs. Be sure to vote! If I have a lot of people vote, I might do this again.
You have a week to vote! (Poll ends 5/27/15 8:00 PM)

Monday, May 18, 2015

Bedroom


Here is a basic idea for a minifigure bed, and a shelf and place to hang clothes.

Here's the bed.
You'll need :
  • 2 1x4 bricks
  • 1 4x6 plate
  • 1 1x2 tile
To assemble, place the bricks on either side of the bottom of the plate, then stick the tile on top for a pillow.
Now the shelf/closet.
You'll need to build a 2x6 plate into a wall.
If you have a 5 brick high wall, to make the wall even, you'll need to add some 1x6 plates to make up for the space taken by the shelf.
You can attach shirts and pants on the bottom as shown.

Also, the top of the plate sticking out can be used to store the minifigures toys and books and hats and things.
If you want to build the toy car on the bed in the first picture, the tutorial is here.

Saturday, May 16, 2015

Microscale Space Shuttle

I saw this super cool Microscale space shuttle on Pinterest:
Microscale Space Shuttle
 Unfortunately, our collection did not have the necessary white pieces to accurately complete this. So instead, I built a multi-colored model, solely for the purpose of a tutorial on building this.
Not near as cool looking.
Here's the list of pieces:
  • 3 white 1x1 slopes
  • 1 white 1x1 plate
  • 1 black 1x1 brick with four side studs
  • 1 clear transparent 1x1 plate
  • 1 white 1x1 technic brick
  • 1 white 1x2 tile
  • 1 black 1x2 plate
  • 1 white minifigure hand
  • 1 white 1x1 tile with vertical clip
  • 2 white tooth plates (Please note that only one is shown above. We only own two tooth plates and one was missing.)
For the base:
  • 1 small radar dish
  • 1 bent droid arm
  • 1 1x1 tile with vertical clip
Now, to begin.
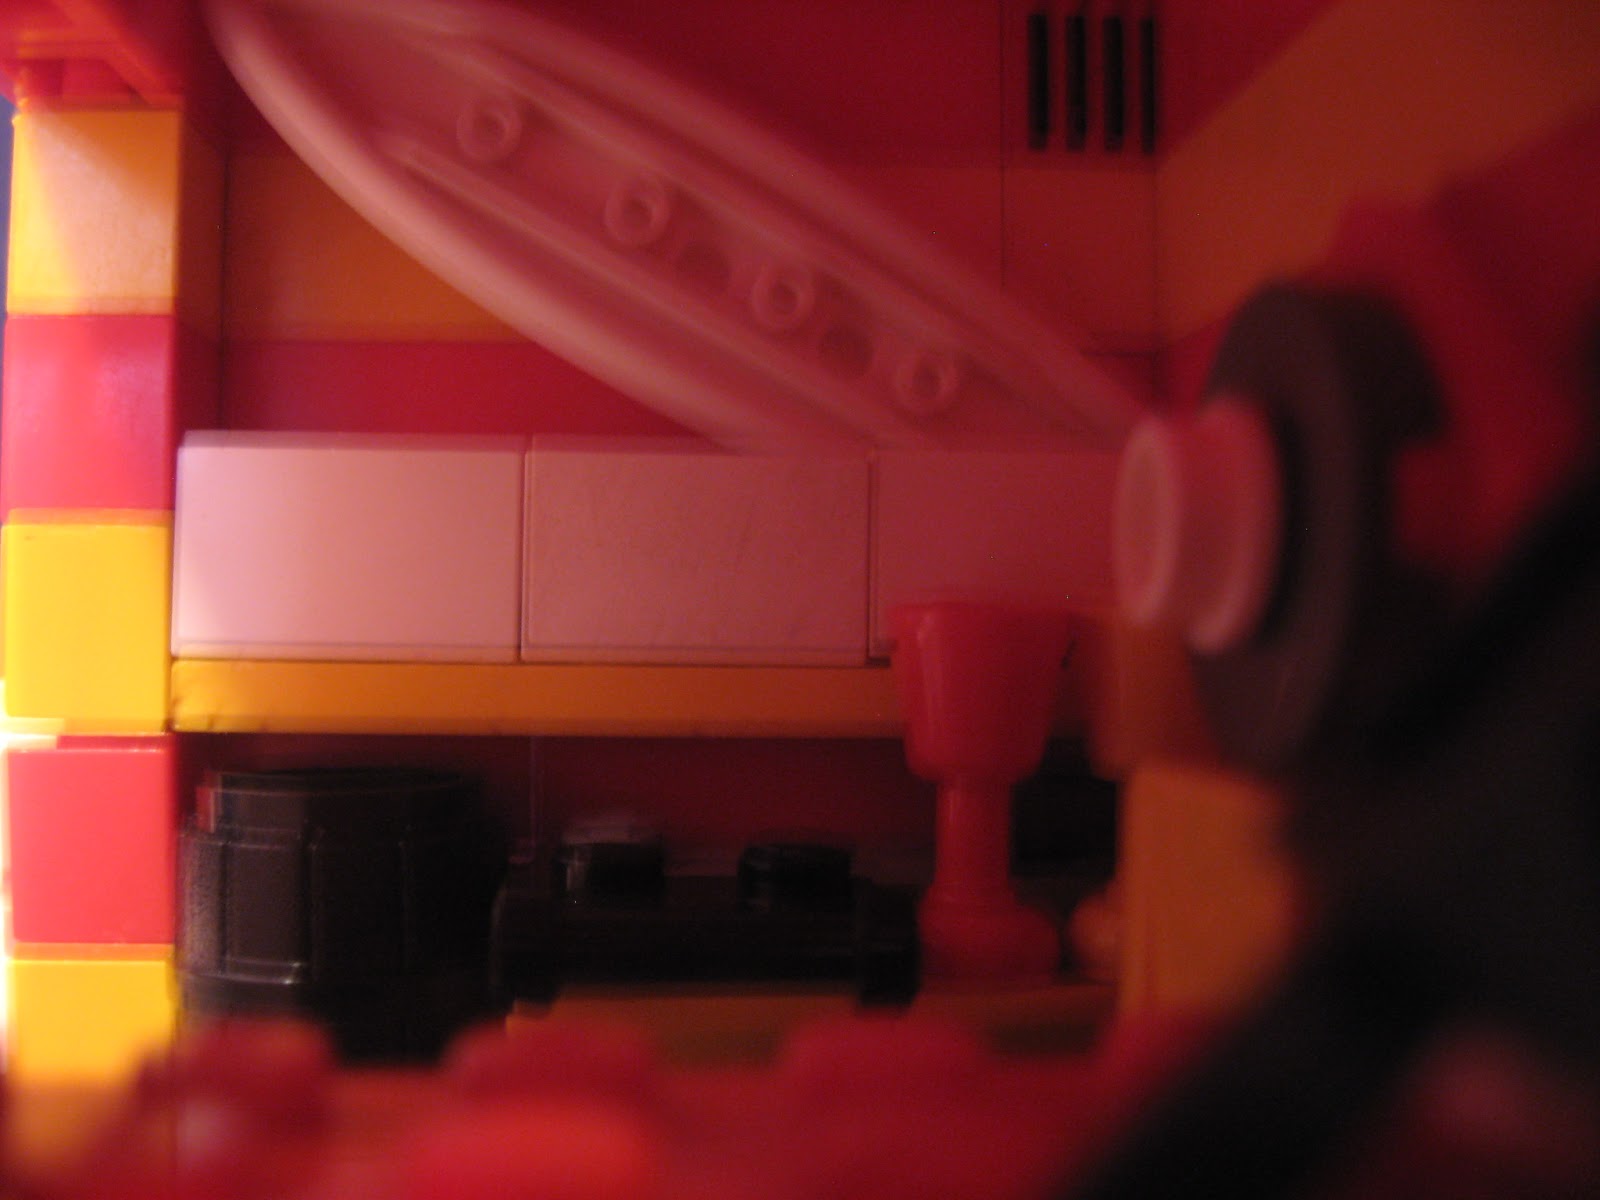
Attach one of the side studs in the brick with side studs to the hole in the technic brick.
Place the 1x2 tile on top of the technic brick with half sticking out as shown.
Now add the clear 1x1 plate and the white 1x1 plate to the bottom of the tile.
Next, place the black 1x2 plate on the bottom like so.
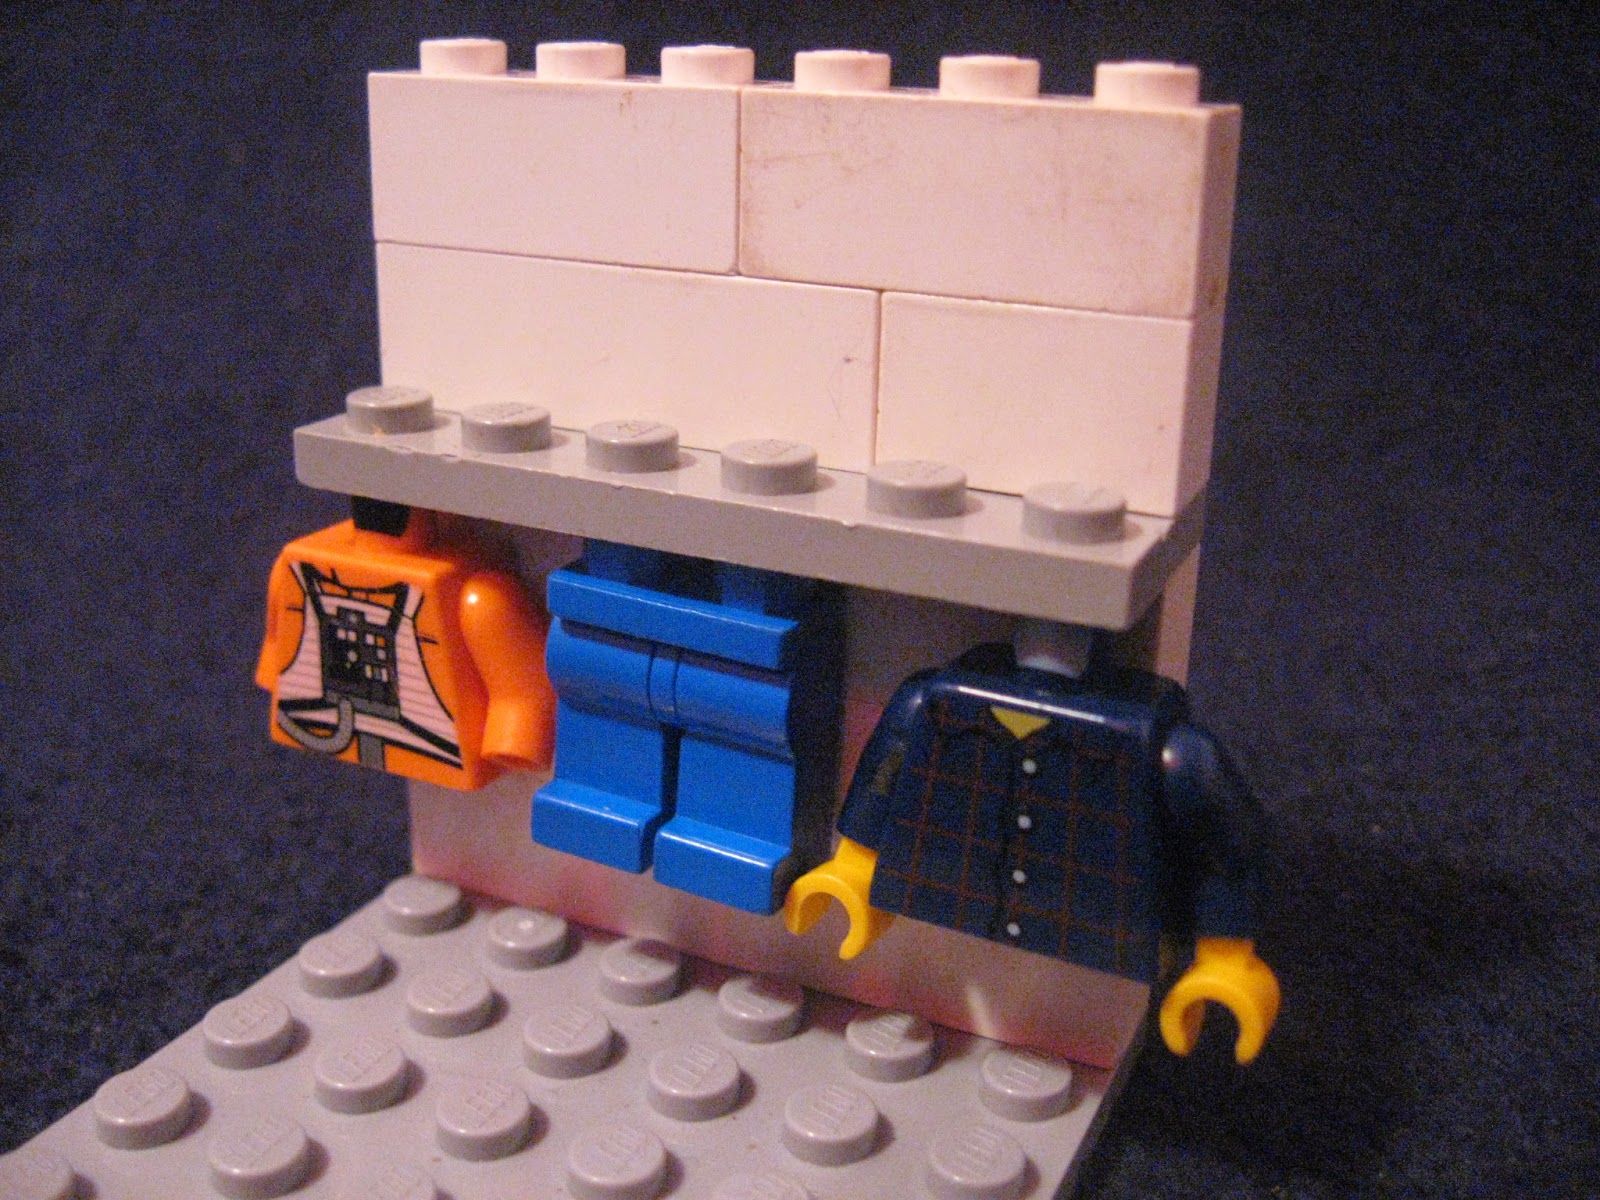
Place one of the 1x1 slants on the plate. Attach the tile with vertical clip to the top of the brick with side studs.
Add the two tooth plates to the side studs. This next part is a little tricky: Attach the minifigure hand to the clip as shown below.
Now add the remaining two 1x1 slants to the tooth plates.
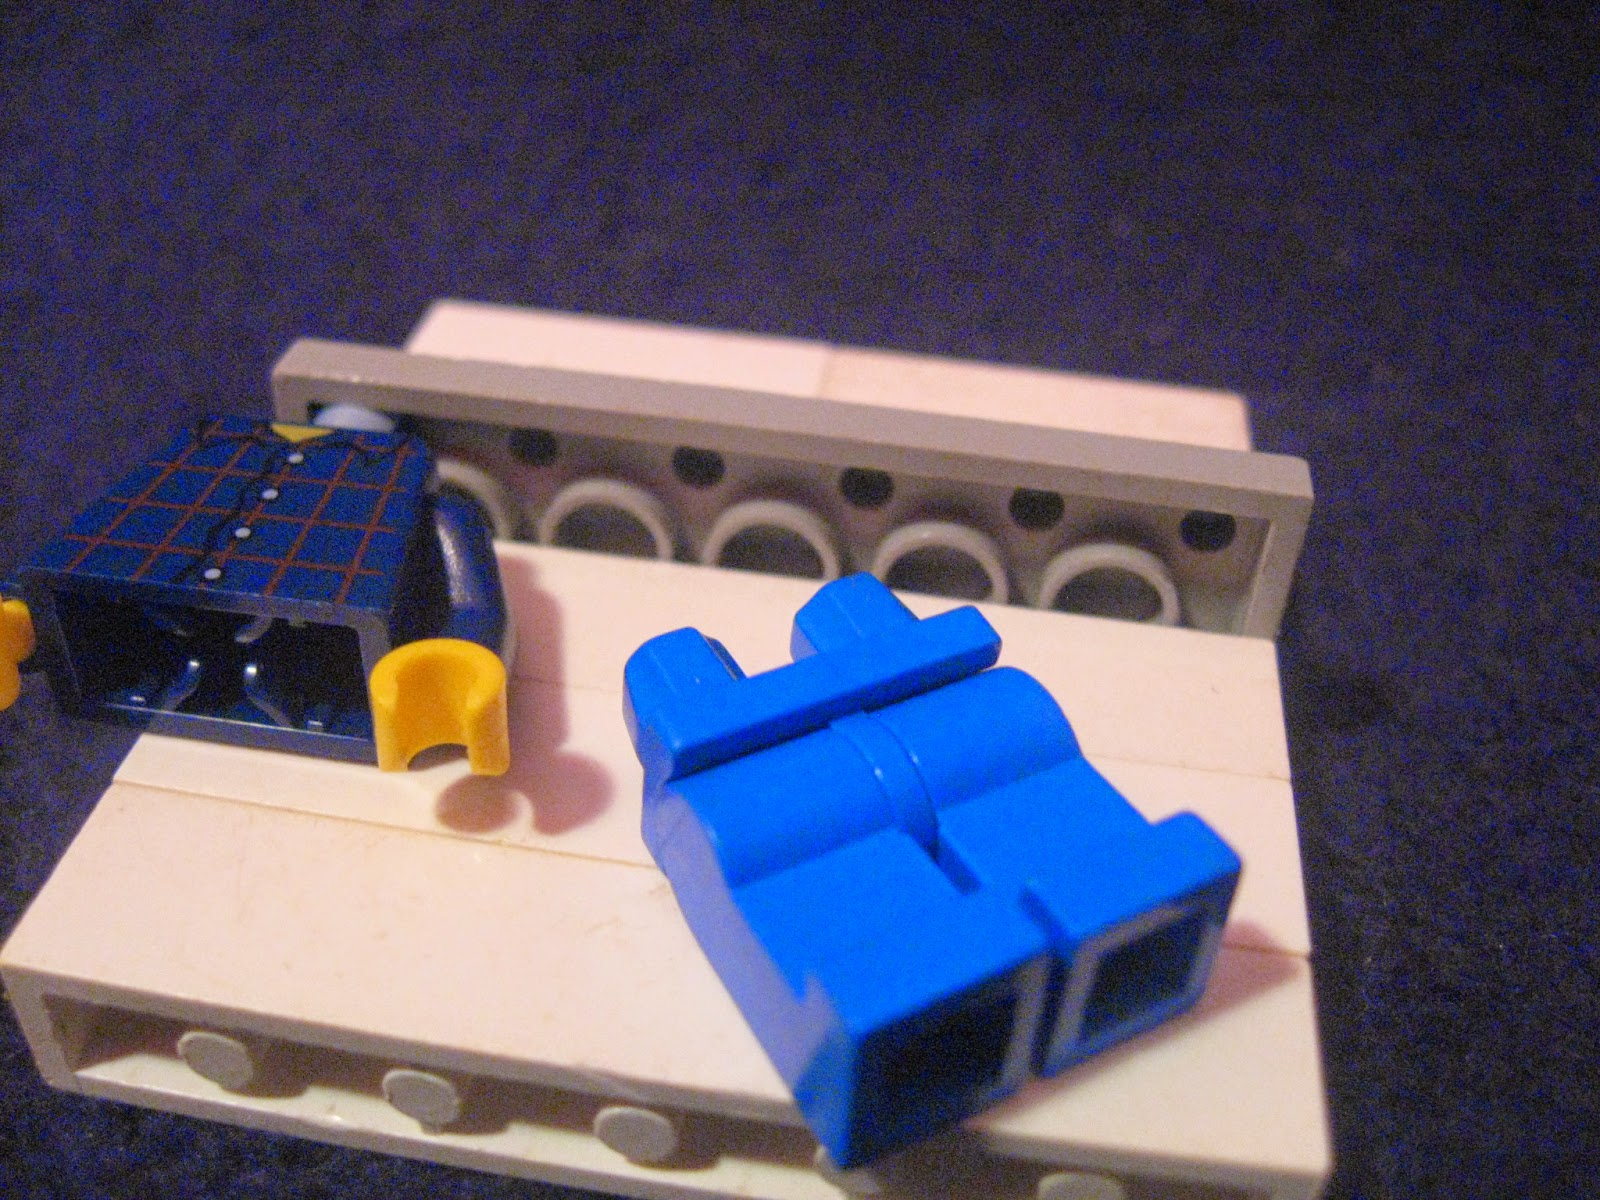
Now, if you want to build the base, here's how to make it and attach it.
Add the vertical clip tile to the radar dish.
This part took me several tries. You need to attach the bent droid arm to the vertical clip like shown in the picture below.
Attaching the base to the ship can be tricky too. You need to attach the clip on the bottom edges of the plate and technic brick.

There is your Space shuttle tutorial. Hope you enjoyed!

Friday, May 15, 2015

Living Room


 Here are some tutorials for furniture. We have some chairs, lighting and a treadmill. Time to build them.
 Treadmill
  • 1 black 2x4 plate
  • 1 white handle
  • 1 white 1x2 brick
  • 1 black 1x2 plate
Stack the brick and 1x2 plate on the 2x4 plate
 Put the handle on top to finish it off. Time for the minifigures to get some exercise!
 Place a stool under a chair to make the seat on the left. The one on the right has a turntable under it to make a spinny chair.
 Or, both. Here's a tall spinny chair!
 Now for some lighting. The floor lamp on the far right I've given a tutorial for before. Here's a link.
 Here's the lamp in the middle.
Ceiling Lamp
  • 1 blue small radar dish
  • 1 round Technic connector
  • 1 transparent yellow 1x1 round plate
  • 1 1x1 technic brick
  • 1 2x2 plate with hole on the bottom
 Put the connector in the hole in the plate.
 Now put the technic brick on the connector.
 Now place the radar dish on the bottom of the brick.
 Now place the transparent yellow plate on the bottom for the lightbulb.
 Here are some quick two piece lamps. Start off with an antennae. Below, I used a 2x2 round brick. The yellow lamp has the studs facing down, the red one is opposite. Also, I used a 2x2 cone. Another idea I had for a floor lamp that is not featured here. An antennae topped with an upside down small radar dish and a transparent yellow 1x1 round plate.
Now you have some furniture ideas for a LEGO house. I'll post some more furniture tutorials later.