Showing posts with label nature. Show all posts

Tuesday, March 1, 2016

Medieval Town

On the tabletop from our old LEGO table, my brother built a medieval scene. (His commentary is in blue, mine in purple.)
 First we have the castle I wrote about before.
 A woman sewing up some pants. (He would like to note it took a long time to balance the 'needle' (A lever without the base) in her hand.) You did it wrong!
 Wait, what? What's the arcade machine doing here? There are no video games in the middle ages! Yes there are.
 We have a jester entertaining someone, a catapult, a garden, and a...
 Pirate ship?
 Here's the jail cell (Cool effect with the hinge bricks)
Cool door!Looks like a clip plate built into the wall, then a clip plate with a jumper plate and a wheel to open it.
 The prisoner. (I think that might my half of a microscale Minecraft villager head in the wall. to the left.) Er, hehe...
 Let's check out these two buildings...
 Okay, this looks like a treasury of some sort. (They need better security on that door.) It's just storage!
 And this looks like a... Oh my. It's the outhouse. That's my brother for you. Hehehehe
 Complete with metal beard's beard and a spider. The spider's supposed to be eating the fly!
 
 What on earth is a mermaid doing here?
 Close up of the garden. Hedwig!
Is that a pair of pants in the bottom right? Interesting hedge shape choice... It's just decorative! What's modern art coming to these days?
 Horse! Eating from a pile of hay, and there's a purple water trough on the right.
 Wait, what's this building? It looks more modern than the others.
 What?
 ...
I probably don't want to know why there were bones shoved in a cabinet. I have no idea what's going on here. They're for his dog! Suuurre... For his "dog." *air quotes.*

Friday, January 15, 2016

Abandoned Castle

My brother recently created this LEGO castle ruins.
 Over grown, worn down by nature, covered in vines...
 A spider. Alright, you go first.
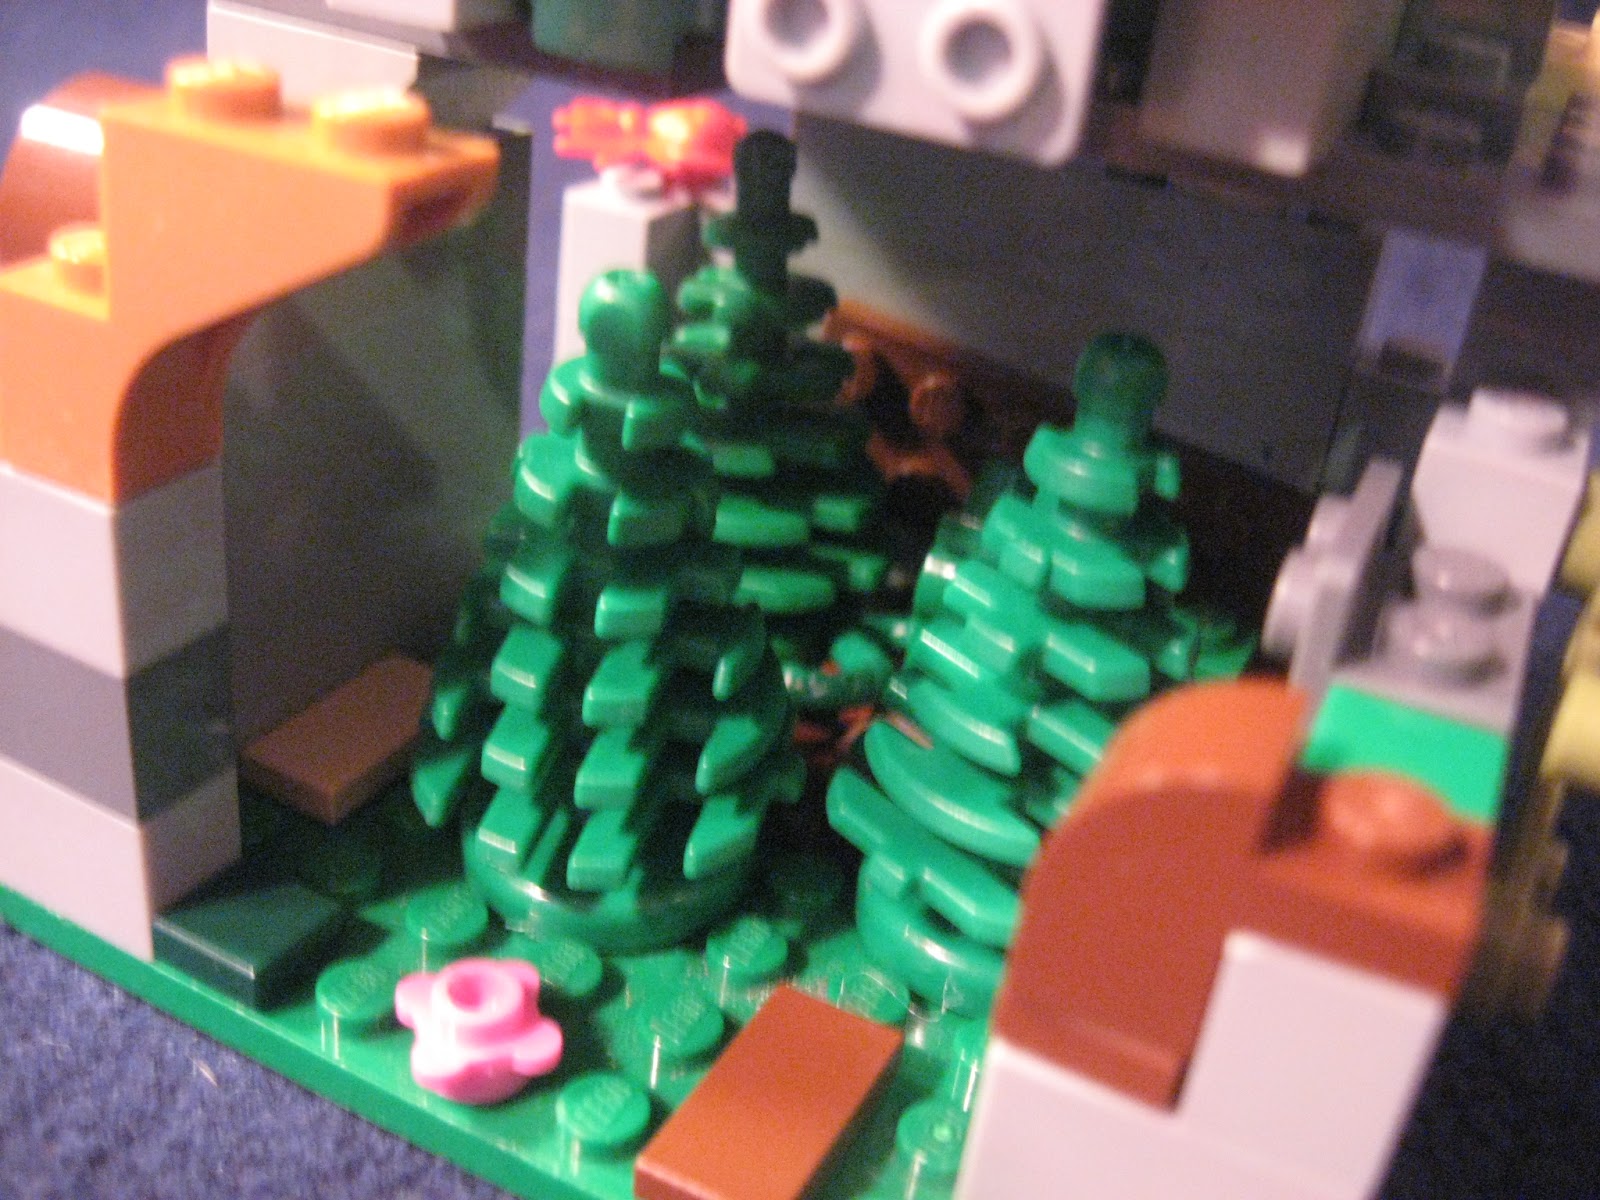
 Close up of the trees and plants growing inside.
 The top tower, covered with moss and plants.
 Some worn down, rotting. wood
  An old stone doorway.
 Vines creeping up the old stone walls.
 Exposed studs for a worn, crumbled look.
 Two brave explorers checking out the ruins. (My brothers comment after seeing the post "No! The girl lives in the castle and is a sniper who kills all who enter! The guy is her mortal enemy!)
This creation is a cool example of using different shapes and colors of bricks for texture effects. See what you can come up with!

Tuesday, August 18, 2015

Microscale Challenge: Shark


Me and my brother competed to see who could make the best microscale shark. Here are the results.
His

Mine
 We unanimously agreed that mine won, since the point of microscale is the minimum amount of pieces, but both turned out fairly well. We both built them in less than five minutes using pieces from our collection.
Here's a comparison of our sharks to a regular LEGO shark.
Baby shark doo doo doodoo doodoo
 Here's how to build his:
Pieces Needed:
(All pieces gray)
  • 5 1x2 slanted bricks (You could also use a 2x2 slanted brick in place of two of the five bricks.)
  • 1 1x2 brick
  • 1 2x2/1x4 bending brick (That's not what it's actually called, I'm just making something up cause I don't know what to call it.)
  • 2 jumper plates
  • 2 1x1 bricks with one side stud
  • 1 2x6 plate
 Place the bendy brick in 2x2 form on the plate. He says his reasoning for using this type rather than a regular 2x2 brick is that the hinge sticking out is the tail. (Amputated tail maybe? I don't know.) Place the bricks with side studs so that the side studs are facing out on either side as shown.
 Fill in the gap between the side stud bricks and the other brick with a 1x2 brick, then add the two 1x2  (Or 1 2x2 slanted brick) slanted bricks on the front.
 Place the two jumper plates on top.
 Attach the fins on top and on the sides, then you are finished.
 Now for mine. You'll need just five pieces:
(All pieces dark gray)
  • 1 1x1 slant
  • 1 1x2 plate with vertical clip
  • 1 jumper plate
  • 1 1x1 plate
  • 1 1x2 plate with slant (You may substitute a 1x2 plate and 1x1 slant)
 Place the plate with clip on the plate with slant as shown. The clip forms the shark's tail.
 Put the 1x1 plate on the bottom.
 Add the jumper plate.
 And add the slant to the jumper plate for the top fin and you're done!

Monday, August 17, 2015

Microscale Giraffe

Another microscale creation from Pinterest. A tiny giraffe!
 The only difference between mine and the original is that the other one has a 1x1 yellow tile on it's back, but I couldn't find one.
Pieces Needed
  • 4 brown 1x1 round plates
  • 3 yellow 1x1 round plates
  • 1 yellow 1x2 plate
  • 1 yellow faucet
 Bonus picture of minifigure me taking pictures.
 To start, put a yellow and brown round plate on the bottom of the plate.
 Now place a brown one on top of the yellow and a yellow on top of the brown. These are your giraffes legs.
 Now let's start on the neck. Place a brown round plate on top of the 1x2 plate.
 Now stack a yellow one and another brown one.
 Now for the giraffes head, a yellow faucet. Ta-da! You're finished!